–
–
Watch more How to Do Latte Art videos: http://www.howcast.com/videos/511297-How-to-Free-Pour-Latte-Art
The first kind of latte art we’re going to talk about today is free pour. Again, this is like the working barista’s type of latte art. You’re pouring it as you’re making drinks for customers. It takes no more time to pour a free pour design than it would be to pour a drink without latte art.
Here’s some basic quality benchmarks we’re going to talk about. Again, we mentioned the really nicely textured milk. We want to see a nice, crisp white design without any beige. Nice and centered in the cup. These are things we value in free pour latte art.
Let’s show you some good and some bad examples of these things, and then we’ll move onto actually pouring some designs.
Again, an appropriate amount of milk in the cup.
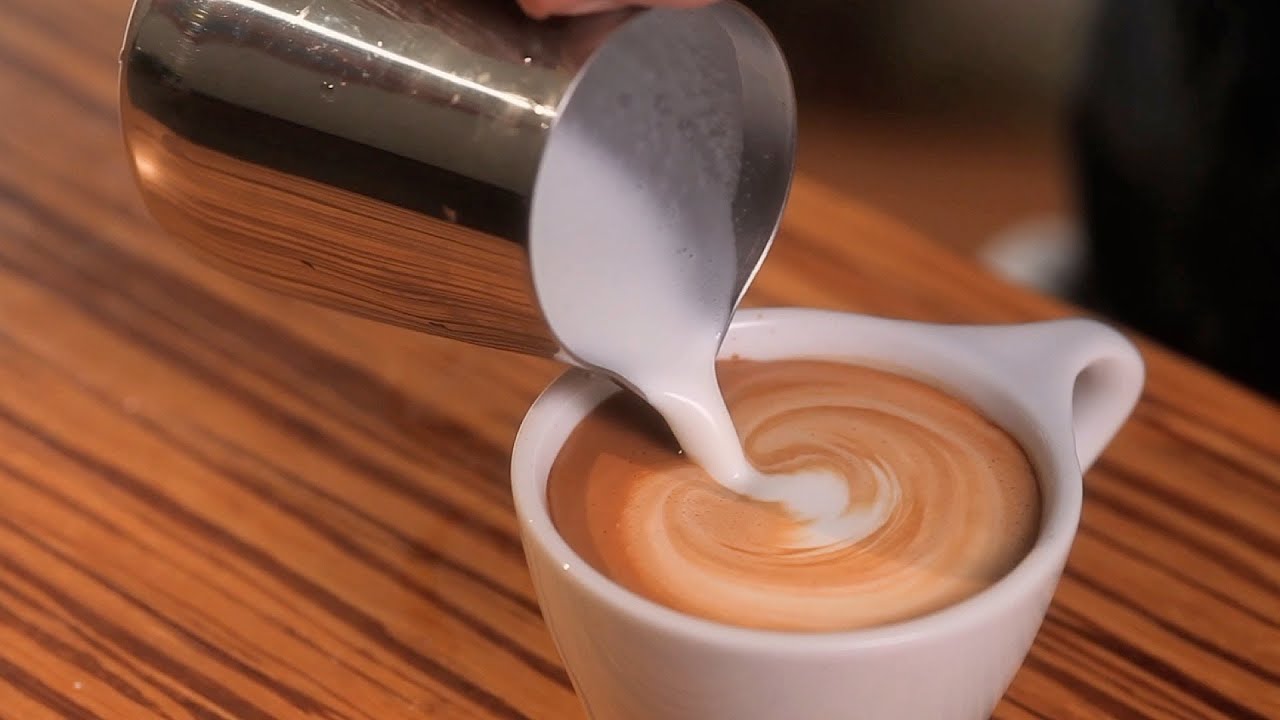
First things first. I’m going to swirl my crema just to make a nice even pallet, and swirl the milk. This the first lesson we want to learn. You want to have nice, really finely textured milk before you begin. If we don’t, it’ll just never wind up being the way you want it to look. I’m just going to start with a basic dot in the cup with milk that isn’t quite as good.
Here, we can see see a lot of pock marks and a lot of visible bubbles. The edges aren’t very crisp. There’s a lot of dots and speckles here. This milk isn’t terrible, but it’s not quite as good as it could be. We’re going to make sure we’re a little better than this when we start to pour our designs.
We have our milk right for this one, but I’m going to show what happens when you get more beige and less of that crisp white. You only get that nice, crisp white latte art when you’re about this close from the spout of the pitcher to the liquid in the cup. We tilt the cup so we can get as close as we want, as soon as we want. If I don’t, you’ll see how no matter how low I get the pitcher, you get a lot of that beige before the white eventually pops out.
All this stuff around the edge you want to get rid of, and we do that by tilting the cup and getting really close with the spout to the liquid in the cup. Once you have great milk quality, and you can tilt the cup, we’ll get that nice crisp design were looking for.
I’m going to pour from slightly higher. Fill the cup up about half way and drop down to let the foam spill out into the middle. Here, we have a nice centered dot. Crisp and white with great foam quality.
All the free pour designs we poured today will involve these principles. We’re going to have great milk. We’re going to get right down, really close to the surface of the liquid in the cup with the pitcher before we even begin pouring. That’s going to bring all these designs into this really nice, centered crisp area where you want them.